
What Homeowners Often Overlook Before Starting an Outdoor Project (And Why It Gets Expensive Later)
What homeowners overlook before starting an outdoor project. Learn the hidden costs, common mistakes, and practical steps that can save you thousands before installation begins.
3/23/20265 min read
Most outdoor projects don’t go over budget because of one big mistake.
They go over because of a dozen small ones stacking up.
A little extra digging here. A small adjustment there. A material change that seemed minor at the time. By the end, those “small” decisions turn into thousands of dollars.
If you’re planning anything outside—patio, walkway, yard leveling, planting beds, or a full layout change—this is the part most homeowners underestimate.
It’s not the design that gets expensive. It’s what happens when that design hits real ground, real water, and real installation conditions.
1. Most Plans Look Solid—Until You Deal With Your Actual Soil
On paper, everything looks straightforward.
Flat surfaces. Clean lines. Even spacing.
But the ground underneath doesn’t care about your plan.
In a lot of mid-sized cities—especially places like Huntsville—you’re dealing with red clay. And that changes everything.
Here’s what clay does that most homeowners don’t expect:
Holds water longer than normal soil
Compacts unevenly if not layered correctly
Expands when wet and shrinks when dry
Creates pressure under hard surfaces
That matters for anything that needs stability:
Paver patios
Concrete slabs
Walkways
Retaining walls
Most homeowners regret skipping proper base prep because the problem doesn’t show up right away.
It shows up months later:
Pavers start shifting
Sections sink slightly
Edges become uneven
Water starts pooling
And at that point, fixing it means tearing it up and starting over.
What actually saves money:
Digging deeper than you think you need
Adding proper gravel base layers
Compacting in stages—not all at once
Skipping those steps might save $500–$1,500 upfront.
But it can cost $3,000–$8,000 to fix later.
2. Drainage Is the Hidden Cost Most People Miss
If there’s one thing that quietly drives up outdoor project costs, it’s water.
Not dramatic flooding—just normal rain that doesn’t go where you expected.
And this is where most projects go sideways.
Common drainage issues:
Water collecting near your foundation
Soft spots forming under patios
Runoff washing out mulch or gravel
Standing water that never fully dries
In humid areas with heavy seasonal rain, this becomes a bigger problem faster.
What contractors won’t always lead with:
Drainage fixes can add $500 to $3,500+ depending on complexity.
And if it’s not handled early, you’ll pay more later.
Because once everything is installed, fixing drainage means:
Removing sections of the project
Regrading the ground
Reinstalling materials
That’s double labor.
Red flags to watch for:
No mention of drainage in your quote
“We’ll adjust if needed” instead of a clear plan
No slope or grading discussion
What to do instead:
Ask exactly where water will go after rain
Request slope measurements (even rough ones)
Make sure drainage is included—not optional
Drainage isn’t an upgrade. It’s part of the foundation.
3. Layout Decisions That Look Good but Don’t Work in Real Life
A lot of outdoor layouts are built around how they look—not how they’re used.
And that’s where frustration starts.
It’s easy to get pulled into:
Straight lines
Symmetrical layouts
Clean edges
But once the project is done, reality kicks in.
Common regrets:
Walkways that don’t match how people actually move
Seating areas placed in full sun with no shade
Spaces that feel tight once furniture is added
Features that look good but rarely get used
The biggest mistake isn’t poor design—it’s ignoring how the space will actually function.
Before finalizing a layout, think through:
Where do people naturally walk right now?
Where is the sun at 3–5 PM?
Where does water collect after rain?
Where will furniture actually go—not just in theory?
Design should follow behavior—not force it.
4. DIY vs. “This Needs to Be Done Right the First Time”
A lot of outdoor projects look doable at first.
And some parts are.
But there’s a line where DIY turns into rework.
Common areas homeowners underestimate:
Excavation depth
Leveling large areas
Base preparation
Drainage installation
These aren’t complicated—but they are unforgiving.
If the base is wrong, everything on top of it will eventually fail.
And fixing it later costs more than doing it right the first time.
A simple breakdown:
Usually safe to DIY:
Planting
Mulch
Simple edging
Decorative elements
Usually worth hiring out:
Grading
Base prep
Drainage
Large hardscapes
Most homeowners regret trying to save money on the part no one sees.
5. Material Choices That Cost You More Over Time
It’s easy to focus on upfront cost when choosing materials.
But outdoor materials aren’t just about price—they’re about durability.
And this is where short-term savings turn into long-term expenses.
Common trade-offs:
Cheaper pavers that shift more easily
Wood that needs sealing every year
Gravel that spreads and requires constant maintenance
Plants that don’t match local conditions
In warm, humid climates:
Materials wear faster
Mold and moisture become factors
Expansion and contraction increase stress
What actually saves money:
Choosing materials that match your environment—not just your budget.
Because replacing something in two years is always more expensive than installing it correctly once.
6. Where Plans Break Down During Installation
This is the part most homeowners never see coming.
There’s a big difference between:
A plan
And what it takes to execute that plan on real ground
On paper:
Everything is level
Measurements are exact
Materials fit perfectly
In real life:
Ground slopes slightly
Soil conditions vary
Water doesn’t behave exactly as expected
Adjustments have to be made mid-project
This is where experience matters—not for design, but for decision-making on site.
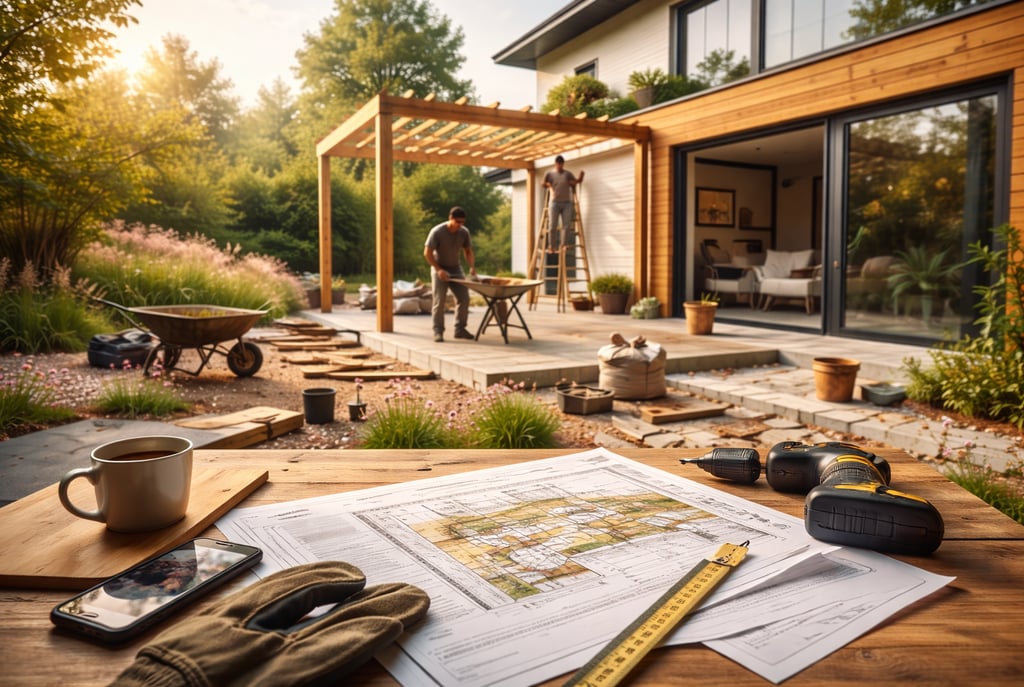
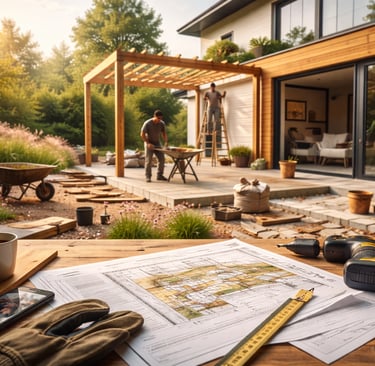
Looking at how outdoor spaces are actually built shows how much happens during installation—not just before it—especially when dealing with grading, base prep, and layout adjustments landscape installation examples.
Most homeowners don’t realize how many decisions happen after the project starts.
And those decisions directly affect:
Longevity
Stability
Maintenance needs
7. Timeline Expectations vs. Reality
Outdoor projects almost always take longer than expected.
Not because of poor planning—but because of variables you can’t control.
Common delays:
Weather interruptions
Material delivery issues
Ground conditions that slow progress
Adjustments that take extra time
A “one-week project” often turns into two or three.
The mistake isn’t the delay—it’s expecting everything to go exactly as planned.
What helps:
Build extra time into your expectations
Avoid scheduling around a tight deadline
Understand that rushing leads to shortcuts
And shortcuts usually show up later as repairs.
8. The Small Costs That Add Up Fast
It’s rarely one big expense that pushes a project over budget.
It’s the accumulation of smaller ones:
Extra materials for adjustments
Additional labor time
Minor upgrades during the project
Delivery, disposal, and cleanup fees
Individually, these don’t seem significant.
Together, they can add 15–30% to your total cost.
Most homeowners don’t plan for this—and that’s where stress starts.
A simple rule:
Add at least 15–20% to your expected budget before starting.
If you don’t need it, great.
If you do, you’re prepared.
9. What Contractors Won’t Always Spell Out
This isn’t about bad contractors.
It’s about assumptions.
Contractors assume:
You understand what’s included
You’ll ask if something is unclear
You know what could change
Homeowners assume:
Everything is covered in the quote
There won’t be major surprises
The plan is fixed
That gap creates problems.
Questions you should always ask:
What’s NOT included in this quote?
What conditions could increase the cost?
Is drainage fully included or extra?
What happens if the soil is worse than expected?
Clear answers upfront prevent expensive conversations later.
What to Do Before You Call Anyone
Before reaching out to contractors or buying materials, do this first:
Walk your yard and look for:
Where water flows after rain
Where the ground feels soft or uneven
Where people actually walk
Where sunlight hits in the afternoon
Then:
Get at least three written quotes
Make sure each includes base prep and drainage
Compare scope—not just price
Don’t rush into starting just to “get it done”
Doing this first actually saves money—even if it delays the project slightly.
Final Takeaway (Quick Checklist)
Before starting your outdoor project, make sure you:
Check soil conditions (especially clay-heavy areas)
Plan for drainage from the beginning
Design based on how the space will actually be used
Separate DIY tasks from structural work
Choose materials based on durability—not just price
Add a 15–20% budget buffer
Get clear answers on what’s not included
The sooner you handle these details, the less it will cost you down the road.

©2026